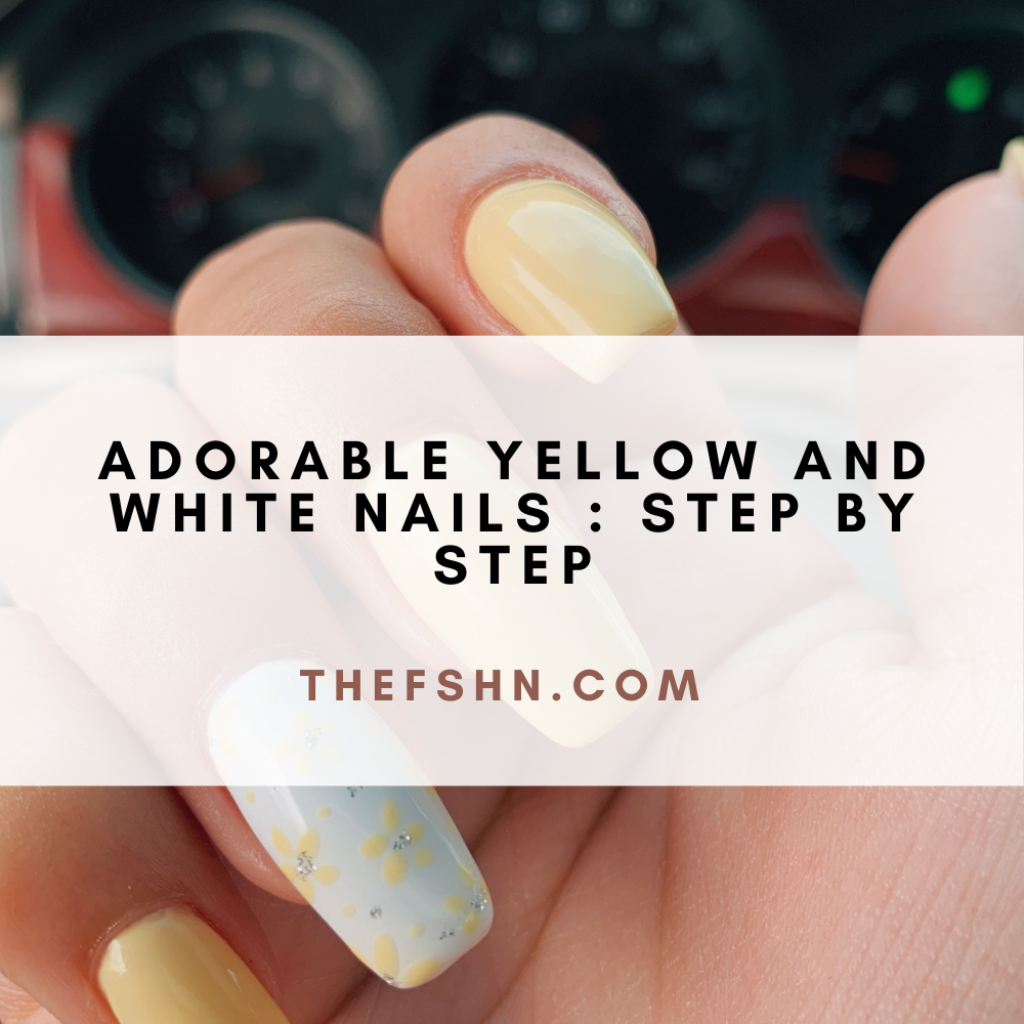
Adorable Yellow And White Nails : Step by Step – This design has a lot of fun elements.
You can use any color combination you want, but I like yellow and white together because it reminds me of the spring season—and who doesn’t want to bring in some sunshine when it’s cold outside?

Step 1.
- Apply a base coat, let dry completely, and apply white nail polish.
- Dip the end of each pinkie finger into the yellow polish, then use your other hand to pull the brush through your wet fingers to get an even coating of yellow on all 10 nails (this will help prevent uneven application). Repeat with all fingers until you’ve covered every nail in a thick coat of yellow paint and let them dry completely.
Step 2.
You can use a white nail polish or a white nail polish pen to create the stripes. Just make sure that you don’t overdo it, or you’ll end up with a thick white line!
Don’t worry if you don’t get it right the first time—let the nail polish dry completely before moving on to the next step.
Step 3.
- Dip a large dotting tool into yellow nail polish and create a circle in the middle of your nail.
- Make sure you have enough nail polish for the circle.
- Dab it on to the nail and make sure it is covered.
Step 4.
- Using a smaller dotting tool, add two more dots next to the first.
- Make sure the dots are evenly spaced and touching.
- The size of your nails should determine the size of your dots; small nails will work best with small dots, and larger nails can handle larger dots without looking too busy or overwhelming.
Step 5.
Dip a thin brush into white nail polish and draw a line from the outside of your cuticle to the yellow dot in the middle. Connect each of the three yellow dots for a daisy look.
Conclusion
A yellow and white daisy is such a happy combination, you’ll want to do this all over again!
If you want to try this, here’s what you’ll need:
- Base coat
- White nail polish
- Yellow nail polish (I used Sally Hansen Insta-Dri Fast Dry Nail Color in Wacky Tacky)
- Thin brush or dotting tool (optional)
And there you have it! A super easy nail design that is great for spring and summer. And with only five steps, this nail art doesn’t take too much time or effort.
I know what you’re thinking: “I don’t have time to do anything fancy on my nails!” Well guess what? I hear ya!
That’s why I love using this design because it only takes five minutes of your time but still looks beautiful when done. So go ahead and give it a try—you’ll love how easy it is!